Showing posts with label Recipes. Show all posts

Thursday, February 9, 2012

Natural Hair 1O1

 If you haven't noticed by now, I do have a thing for hair throughout some of my posts. If my hair is all jacked up, then it'll be one mucked up rest of the day for me. When I'm in that mood, that is when I throw on a wig! I've previously mentioned that I've been relaxer-free for almost a year. I've noticed that the females in my family hair starts to thin out around the crown and bald through time from the over use of relaxers.  So that put me en route of refusing to furthermore use relaxers.

Now I've been accidentally in "transition" for a while now. It is kind of tough actually. I have to work with two different textures in my hair at the same time. I have my new growth coming in at the roots while the chemically treated hair is still on the ends. The whole time I was sitting, wondering, "Why are my old usual products not quite working for me anymore?" LOL. I was also still unknowingly damaging my hair with heat to maintain the two textures.

I'm too wimpy to do a big chop (BC). My hair was already armpit length when I was using relaxers, so it was pretty devastating when big clumps of hair would come out at a time while detangling. I'm figuring out that conditioning and braiding has been key to preventing major breakage.  I've even taken to the technique of leaving the braids up while washing my hair. It cuts the terrible detangling process out, which makes major hair breakage pretty much none existent. I've also learned that when I do have to do some detangling it is way better to just finger-comb and sometimes follow up with the use of a wide tooth comb if needed. I've always combed from the bottom working my way up through the roots.


For a deep conditioner (DC) I like to use:
  • Olive Oil (EVOO)
  • Coconut Milk (can be found in the healthy section of regular grocery stores)
  • Coconut Oil
  • 1 Avocado
Directions:
  1. Mix ingredients in a blender until smooth.
  2. Strain the mixture through an knee-high, if it isn't smooth enough. This is so that you won't have to pick out pieces of avocado in your dry hair later.
  3. Strain into an applicator bottle to prevent a huge mess during application.
  4. Part hair into sections and apply mixture.
  5. Massage into hair and scalp. Massaging the scalp actually promotes hair growth stimulation.
  6. Leave in hair for at least 45 minutes. The longer it stays in, the better. I like to let hair sit for 2 hours covered in a plastic cap and a towel wrapped around my neck.
  7. Rinse out mixture.
These ingredients add shine and moisture with great natural fats. Ingredients can be found in health food and vitamin stores. For a quick hit of much needed moisture, throughout the day I use a mixture in spray bottle consisting of mainly water with an oil, like olive oil. Sweet almond oil or jojoba oil are good to use too. It is better to spray water onto hair first and then with oil. This way the oil seals in the moisture instead of blocking it out. Doing hot olive oil treatments help as well, especially, throughout the harsh winter weather.  By the way, you can also enhance cheaper conditioners by adding an oil to the bottle!

Friday, January 27, 2012

What's for Breakfast?

Bacon Egg and Cheese Melt Sandwich

Ingredients

1 ounce Fontina Fontal cheese
2 slices extra-smoky, extra-thick cut bacon
1 English muffin, split (I love English muffins)
1 tablespoon unsalted butter
1 large egg

Yield: serves 1
Difficulty: Easy
Directions
  1. Place cheese in freezer until well chilled, about 10 minutes. Meanwhile, place bacon on a griddle over medium-high heat; cook until crisp. Transfer to a paper towel-lined plate to drain.
  2. Remove cheese from freezer, cut two slices, and grate remaining cheese on the largest holes of a box grater; set aside.
  3. Place English muffin split-side down in skillet; cook until toasted. Turn and top each half with a slice of cheese. Reduce heat and cook until cheese is melted. Remove from heat and set aside.
  4. Melt butter on griddle; crack egg onto melted and fry until whites are set; turn and top egg with grated cheese; continue cooking until yolk has reached desired degree of doneness.
  5. Carefully transfer egg to large muffin half. Top egg with bacon in an "X" and sandwich with remaining muffin half; serve immediately. DELICIOUS!
Source: Murrays Cheese via Martha Stewart

Thursday, January 12, 2012

What's for Breakfast?

Blueberry Cream Cheese Stuffed Baked French Toast


Ingredients:

1 loaf white bread, no crusts
1/2 loaf French bread
4 cups fresh blueberries or 4 cups frozen blueberries, rinsed
8 ounces cream cheese
1/2 cup sour cream
1/2 cup sugar
1 teaspoon vanilla
7 eggs
1 1/2 cups milk
1 1/2 cups half-and-half
1/2 teaspoon cinnamon
1/2 teaspoon ground nutmeg
1/2 cup powdered sugar

Prep Time: 10 minutes. Total Time: 55 minutes.

Directions:
  1. Cut white bread into cubes and place into the bottom of a greased 9x13 pan.
  2. Sprinkle blueberries evenly over bread.
  3. Microwave cream cheese in bowl for 2 minutes.
  4. Stir carefully and add 1/2 cup sugar, 1/2 cup sour cream, and 1 teaspoons vanilla.
  5. Spread over blueberries.
  6. Cut French bread into 10-1 inch thick slices, place over cream cheese.
  7. Beat eggs, milk, half&half, cinnamon, and nutmeg and pour over bread.
  8. Cover and refrigerate overnight.
  9. Bake at 350 degrees for 45 minutes covered, then uncover for approximately 15 minutes.
  10. Let set before slicing.
  11. Sift powdered sugar over before serving.
This is one messy dish! I topped mine with graham cracker crumbles. Great substitutes for blueberries: can of apple pie filling, or local frozen peaches. I would steer clear of frozen strawberries as they are more prone to being moldy, always get those while they're in season. To substitute the regular cream cheese, you can use blueberry flavored cream cheese. Powdered sugar and syrup top to you're liking, but isn't necessary.

Also nice with sausage patties! In which, the sausage my daughter is devouring with a nice warm bowl of blueberry oatmeal (because she can't have eggs) on this snowy cold day! If you're a SAHM in the area, you'll have plenty of time to bake this at home with your kids since this is a snowday for many of the schools in the area. If you're working, or don't have any of the ingredients on hand, then this is a great recipe to try on a nice Sunday morning!

Saturday, December 31, 2011

Who Gave the Black-Eyed Peas So Much Power?

Looking for a good luck dish to serve for tonight? I've found a couple of remixes to the traditional black-eyed peas!

Good Luck Black-Eyed Pea Dip

Ingredients:

1 (14 ounce) can black-eyed peas
1/4 onion, chopped fine
1/4 cup sour cream
8 slices jarred jalapenos
1 cup grated sharp cheddar cheese
3 tablespoons salsa
hot sauce, to taste
salt and black pepper

Prep Time: 10 minutes. Cook Time: 30 minutes.

Directions:
  1. Preheat oven to 350 degrees. Drain black-eyed peas and partially mash, leaving some whole.
  2. Add all other ingredients, stirring to combine.
  3. Spread into a 1 1/2 quart baking dish and bake for 20 to 30 minutes until hot and bubbly.
  4. Serve with tortilla chips!
  5. *Note: if you have them available, you can use the canned black-eyed peas and jalapenos (they're canned together.) If you do this, you can omit the extra jalapenos.
Photo by lolsuz

Spicy Lucky Black-Eyed Pea Dip

Ingredients:

1/2 bell pepper, finely chopped
2 stalks celery, finely chopped
1 large onion, finely chopped
1 teaspoon black pepper
1 1/2 teaspoons Tabasco sauce (or to taste)
1/2 cup ketchup
1 teaspoon salt
3 chicken bouillon cubes
1/4 teaspoon nutmeg
1/4 teaspoon cinnamon
2 (15 ounce) cans black-eyed peas, drained and liquid reserved
1 (10 ounce) can Rotel Tomatoes, undrained
1 garlic clove, pressed
1 teaspoon sugar
1/2 cup bacon drippings
3 tablespoons flour

Prep Time: 15 minutes. Cook Time: 30 minutes.

Directions:
  1. In a medium saucepan, combine the bell pepper, celery, onion, black pepper, Tabasco, ketchup, salt, bullion cubes, nutmeg and cinnamon. Cook over low heat, stirring often, until mixture is boiling and bullion cubes are dissolved.
  2. Add peas, tomatoes, garlic, and sugar and simmer for 30 minutes.
  3. Stir flour into warm bacon drippings (that way the flour doesn't lump) and stir flour/dripping mixture into peas.
  4. Cook ten minutes more. Mixture should be thick enough to use as dip.
  5. Scoop a couple of cups of the finished peas out and set aside. Using a blender, food processor, or stick blender, blend the most of the peas to a medium-smooth dip, then return the couple of cups of whole peas back in, stir, and serve. Mashing the most of the peas makes a nice smooth dip that clings to a chip well, while leaving a small portion of them whole makes a nice presentation.
  6. Serve with Frito Scoop chips or corn bread.

  By the way, who gave the black-eyed peas so much power anyway???

Tuesday, December 13, 2011

What's for Dinner?


Baked Herb Chicken Breast Tenders

Ingredients:
  • Chicken Breast Tenderloins (I baked 15 pieces)
  • 1/4 cup melted margarine (I used olive oil to my liking)
  • 1/2 tsp. Dried oregano
  • 1/4 tsp. Dried rosemary leaves, crushed  
  • 1/2 tsp. Dried sage
  • 1/4 tsp. salt
  • 1/4 tsp. Black pepper, coarsely grounded
Directions:
  1. Preheat oven to 375 degrees.
  2. Combine herb ingredients and olive oil in a bowl. I substituted the margarine for olive oil to my own liking. I just so happened to have a rosemary plant at home from over the summer, and lots of leftover sage from Thanksgiving Day.
  3. Rinse off chicken, pat dry.
  4. Place chicken in baking pan, you can use foil to line the pan. I didn't need it because the olive oil helps the chicken not stick to pan.
  5. Make sure the herb mix is evenly brushed onto chicken tenders.
  6. Bake chicken tenders for 22 minutes or until you see that it is done. It will be firm and not pink.

Baked Sweet Potato Fries

Ingredients:
  • Depending on how many people you want to serve, 1 potato can serve 1-2 people.
  • Olive oil
  • Salt and black pepper, to your own liking
Directions:
  1. Cut sweet potato into strips.
  2. Evenly rub olive oil over the fries.
  3. Bake in oven at 400 degrees for 15-20 minutes.
I just used my already preheated oven at 375 degrees and the same pan I used for the chicken tenders which had leftover seasonings and olive oil in it! I baked it for up to 15 minutes when the sweet potato fries were nice and tender. They are so delicious! It is also at it's best when piping hot and topped with ketchup.


I also fixed Mushroom Alfredo using mostaccioli pasta. Hopefully you already know how to boil pasta, right? To save time I just used the Bertolli brand cheese sauce. The sauce is creamy and has portobella mushrooms. I added a few dashes of garlic salt to further jazz it up.

My daughter has food allergies along with her eczema, on top of her being a picky eater. So it's pretty tough trying to feed her, but even she loved this meal! Sans the pasta because it's part of what she's allergic too (darn eggs)!

Friday, December 9, 2011

Let's Celebrate With Christmas Cocktails!

I can't believe I'm at the 100th post so fast! It's about to be 101 posts after I do the FFF of today. Time really does fly when you're having fun! I know all the veteran bloggers are sitting back like, "Ha! What a newbie blogger, wait til you have five times more posts!" I'm not focusing on that though. For right now I'm really enjoying blogging about what ever I find interesting at this particular time. I hope to continue to do this, and keep it illuminated with what's going on with me and my views.

I'm looking forward to these later on as part of my blog mini milestone celebration!

Recipe courtesy of bartender Charles Corpion
 featured on Martha Stewart show.
Photo via Etsy.

Candy Cane Cocktail

Ingredients:
  • 1 Candy cane, crushed for garnish on rim
  • 2 oz. Strawberry vodka
  • 4 dashes White Creme de Menthe
  • 2 1/2 oz. Cranberry juice
  • Ice cubes
Serves 1

Directions:
  1. Place crushed candy canes on a small plate or saucer. Wet the outside rim of a chilled martini glass with water. Holding the glass by the stem, rotate the rim to coat with candy.
  2. In a cocktail shaker, combine vodka, creme de menthe, cranberry juice, and ice; shake until well combined. Strain into prepared glass; serve immediately.
Cocktail Hints from the Ultra-Lounge: Christmas Cocktails 2 :


Cocktails are usually served as appetizers or aperitifs, before a meal. Such cocktails should therefore be tart or "dry" to stimulate appetite. Being mostly liquor with only a small part of flavoring or sweetening, such cocktails are of course more potent. There are times when sweeter cocktails are suitable: when your guests are not regular drinkers (me) there should be more emphasis on fruit juices and sweetening. Any cocktail recipe can be modified to suit your taste and that of your guests. Sophisticated drinkers, as suggested above, like a lot of liquor and only a touch of flavoring; unsophisticated drinkers (again me) the other way around. Most cocktails are at their best ice-cold; they should be shaken or stirred vigorously with ice-cubes (cracked or shaved ice is even better) and served promptly in thin, clean, stemmed glasses. Chilled glasses are an added refinement. Cocktails like Martinis and Manhattans which contain only liquors, may be stirred vigorously with a rod or long spoon. Cocktails which contain fruit juices or eggs should be shaken in a cocktail shaker. Vodka may be substituted for gin in any recipe. Cocktails should not be made in advance if you can help yourself. If all your ingredients are lined up beforehand, the actual making is a very quick -- and pleasantly social -- process.

Here's some drink recipes from Ultra-Lounge: Best of Christmas Cocktails.


North Pole Nog

Ingredients:
  • 1 qt. Chilled eggnog
  • 5 oz. Brandy
  • 4 oz. Dark rum
  • 3 oz. Dark Creme de Cacao
  • 1 whole nutmeg (or dashes of already ground nutmeg if you have it available)
Directions:
  1. Whisk together the eggnog, brandy, rum, and creme de cacao in a large punch bowl.
  2. Add ice.
  3. Grate a little nutmeg over the top of each drink when serving.
If you want to serve individually, not in a punch bowl:
  1. Mix ingredients together over ice in a glass.
  2. Pour into a shaker and give one brisk shake.
  3. Pour into the glassware you will be serving guests with.
Makes 8 (6oz.) cups.

Mistletoe Martini

Ingredients:
  • 1 1/4 fl. oz. (31 ml) Gin
  • 1/4 fl. oz. (6 ml) Dry Vermouth
  • 1/4 teaspoon(s) Peppermint Schnapps
  • Cracked ice
  • Candy cane garnish
Directions:
  1. Half-fill a cocktail shaker with the cracked ice.
  2. pour the gin, dry vermouth and the peppermint schnapps. Shake well.
  3. Strain the mixture into chilled Martini glass(es).
  4. Serve garnished with a candy cane. See first drink recipe at top of page.

Printout from Etsy shop FlairDesigneryLLC,
located in St. Louis, Missouri.


Sunday, December 4, 2011

Holiday Treats


Photo by SashasMommy
Since my Peppermint Land treasury went so well I decided to celebrate with this recipe. There may be more mint recipes to come throughout this month of blog post! You can say I've taken a umm.. special liking (cough, slight obsession) to peppermints for this holiday season.

Peppermint Candy Cane Bark
Prep Time: 5 minutes Cook Time: 15 minutes

Ingredients:

2lbs. White chocolate chips
12 Candy canes, crushed (can be pulverized in a closed Ziploc bag with a hammer)
1 teaspoon Peppermint Extract

Directions:
  1. Melt white chocolate either in a double boiler or in a bowl over a pot of boiling water.
  2. Stir in crushed candy cane and peppermint extract into melted white chocolate.
  3. Line a 11x17" baking pan with wax paper.
  4. Pour and spread chocolate mixture onto wax paper.
  5. Chill until firm and break into pieces
  6. Refrigerate until ready to serve.
Such a simple recipe with a gourmet look! You can use 1lb. baking chocolate chips (bittersweet or dark chocolate) to layer the bottom of the white chocolate. Just let the brown chocolate cool in the fridge while you're melting the white chocolate and layer that on top. You can also reserve the chunkier pieces of crushed candy cane to layer the top of the whole treat as sprinkles.

I also found these:

Head on over to Our Best Bites for
Peppermint Candy Cane Brownies
and even more winter goodnessville!

Monday, November 28, 2011

Got Thanksgiving Dinner Leftovers?

Here's a very useful and delicious recipe that caught my eye from the Etsy blog. I even posted it on the RetroFlirt facebook page along with another recipe!

photo by Kimberley Hasselbrink

Turkey Cheddar and Apple Hand Pies from Kimberly Hasselbrink

Whole wheat pizza dough (pre-made or following this recipe)

1 tablespoon unsalted butter
1 medium yellow onion, diced
1 cup baby spinach leaves
1 cup roasted and diced turkey meat
1 medium, crisp apple, diced
1 cup shredded sharp cheddar
1 tablespoon fresh thyme, minced
1 tablespoon fresh sage, minced
Salt and pepper to taste

Preheat oven to 400 degrees.

If using chilled pizza dough, allow to come to room temperature for about an hour.
Warm the butter in a skillet over a medium low flame. Saute the onion, stirring occasionally, until caramelized, about ten minutes. Add spinach and stir to wilt the leaves, about two minutes. Remove from heat and transfer to a medium bowl. Add the turkey meat, diced apple, cheddar cheese, thyme and sage and stir to combine. Season with salt and pepper to your liking. Set aside.

On a floured surface, roll the pizza dough into a large square, roughly 12×12 inches. Divide into 16 squares about 3×3 inches. Place the squares on a large, lightly oiled baking sheet.

Using a spoon or your hands, portion a generous tablespoon of the filling in the center of each square.

Fold one edge of the square over the other, forming a triangle. Fold and pinch the edges together to seal. Pierce the top with a fork. Brush the surface with a little olive oil, and finish with a sprinkle of sea salt.

Bake in the oven until the crust is golden brown, about 20 minutes. Best enjoyed hot. Can be reheated. They freeze well.

My stomach literally was talking to me and I just about drooled on myself after looking at this recipe! You can basically fill them with any leftovers from Thanksgiving Day! I simply just set aside some portions of the food I was preparing on Turkey Day into Ziploc bags. I put together some corn kernels, mashed yams, a little bit of cranberry sauce and strips of turkey and ham. Then I let it sit overnight in the fridge. The next day I just rolled them right up like a soft taco and heated them up. I don't know what it is about Thanksgiving leftovers? They seemed to have fused very well marinating in it's own flavors, creating a delightfully sweet taste and wholesome at the same time. My stomach sang praises to me and my mouth savored every bite! Great bite to eat for those occasional midnight munchies too.

Wednesday, November 2, 2011

Hold On To Your Pumpkins Folks!

Got pumpkin leftovers? Just because Halloween is over doesn't mean you have to waste a perfectly good pumpkin. But, how do you use the leftovers from your pumpkin? I found this great website! It has 23 different ways to use up the last bits of your pumpkins, recipes included!

You know me, I had to throw in some awesome Etsy finds.

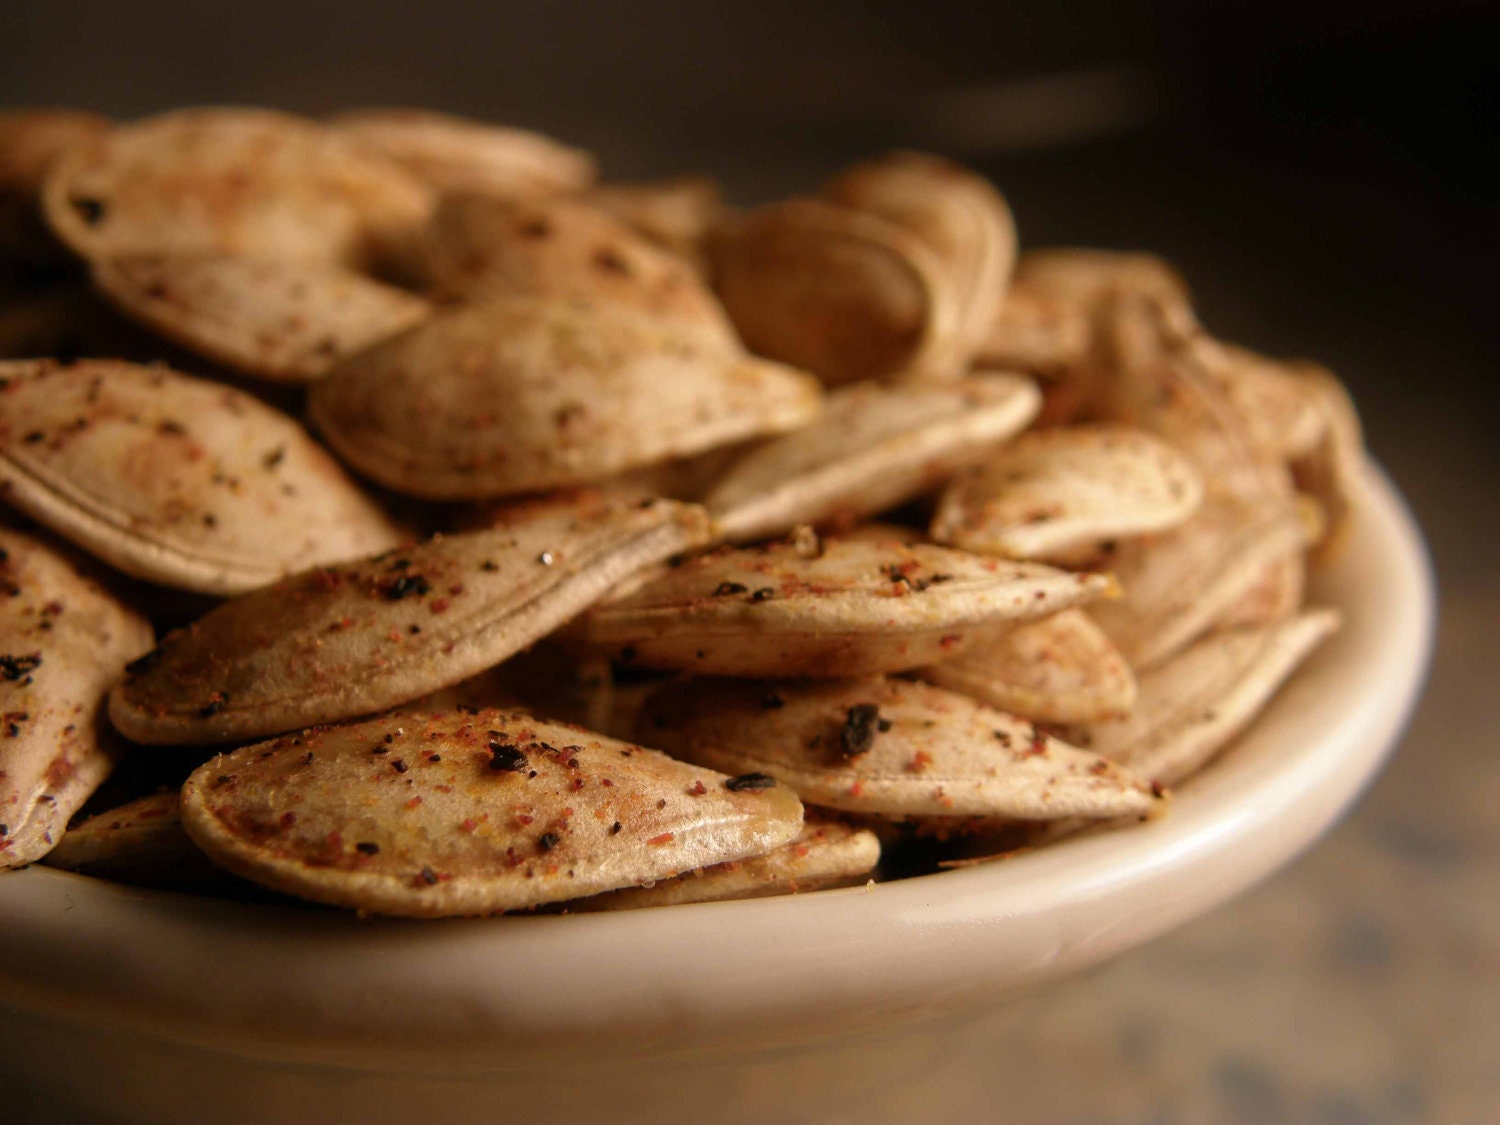
Roasted pumpkin seed spices, Etsy shop GustoSpice.
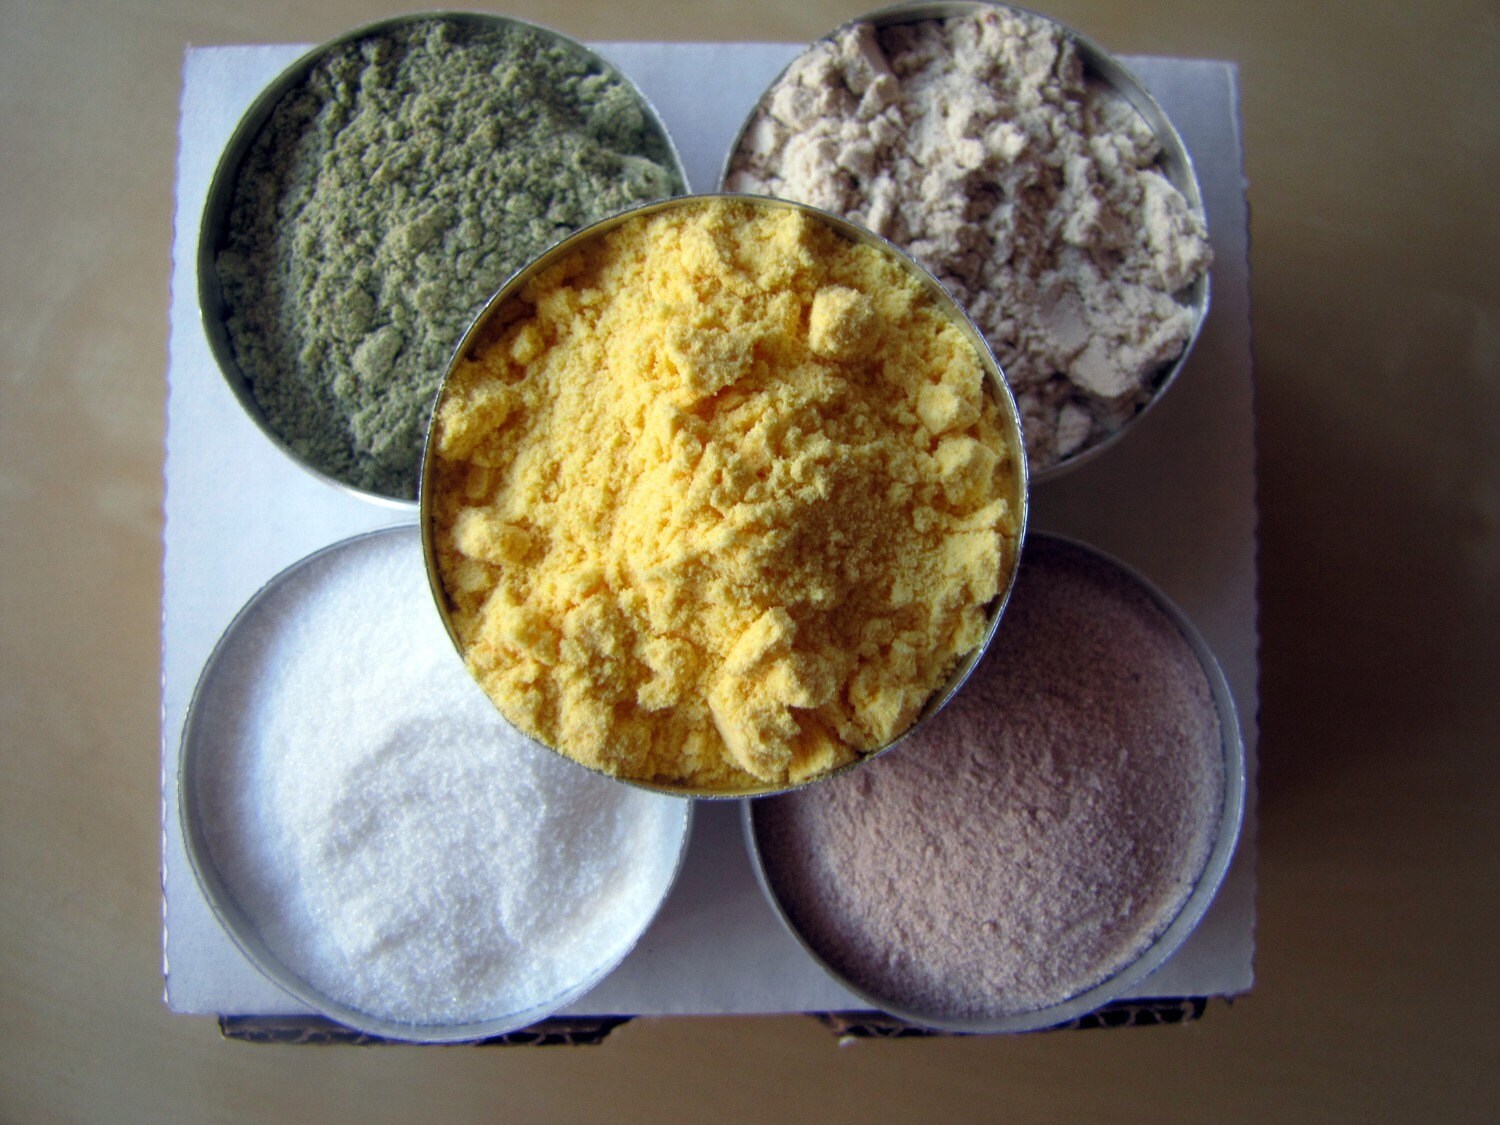
You can also use popcorn seasonings,
Etsy shop cookoutsidethebox.
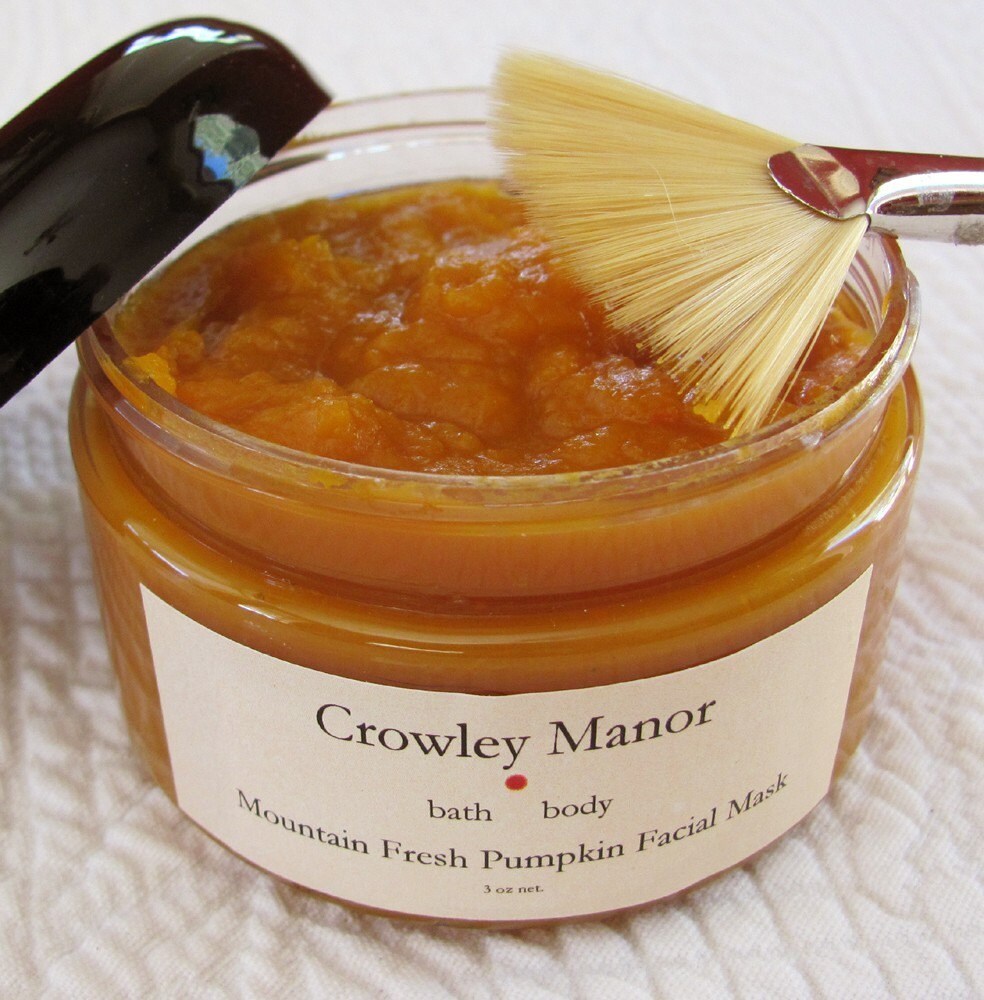
Spa pumpkin face mask, Etsy shop CrowleyManor.
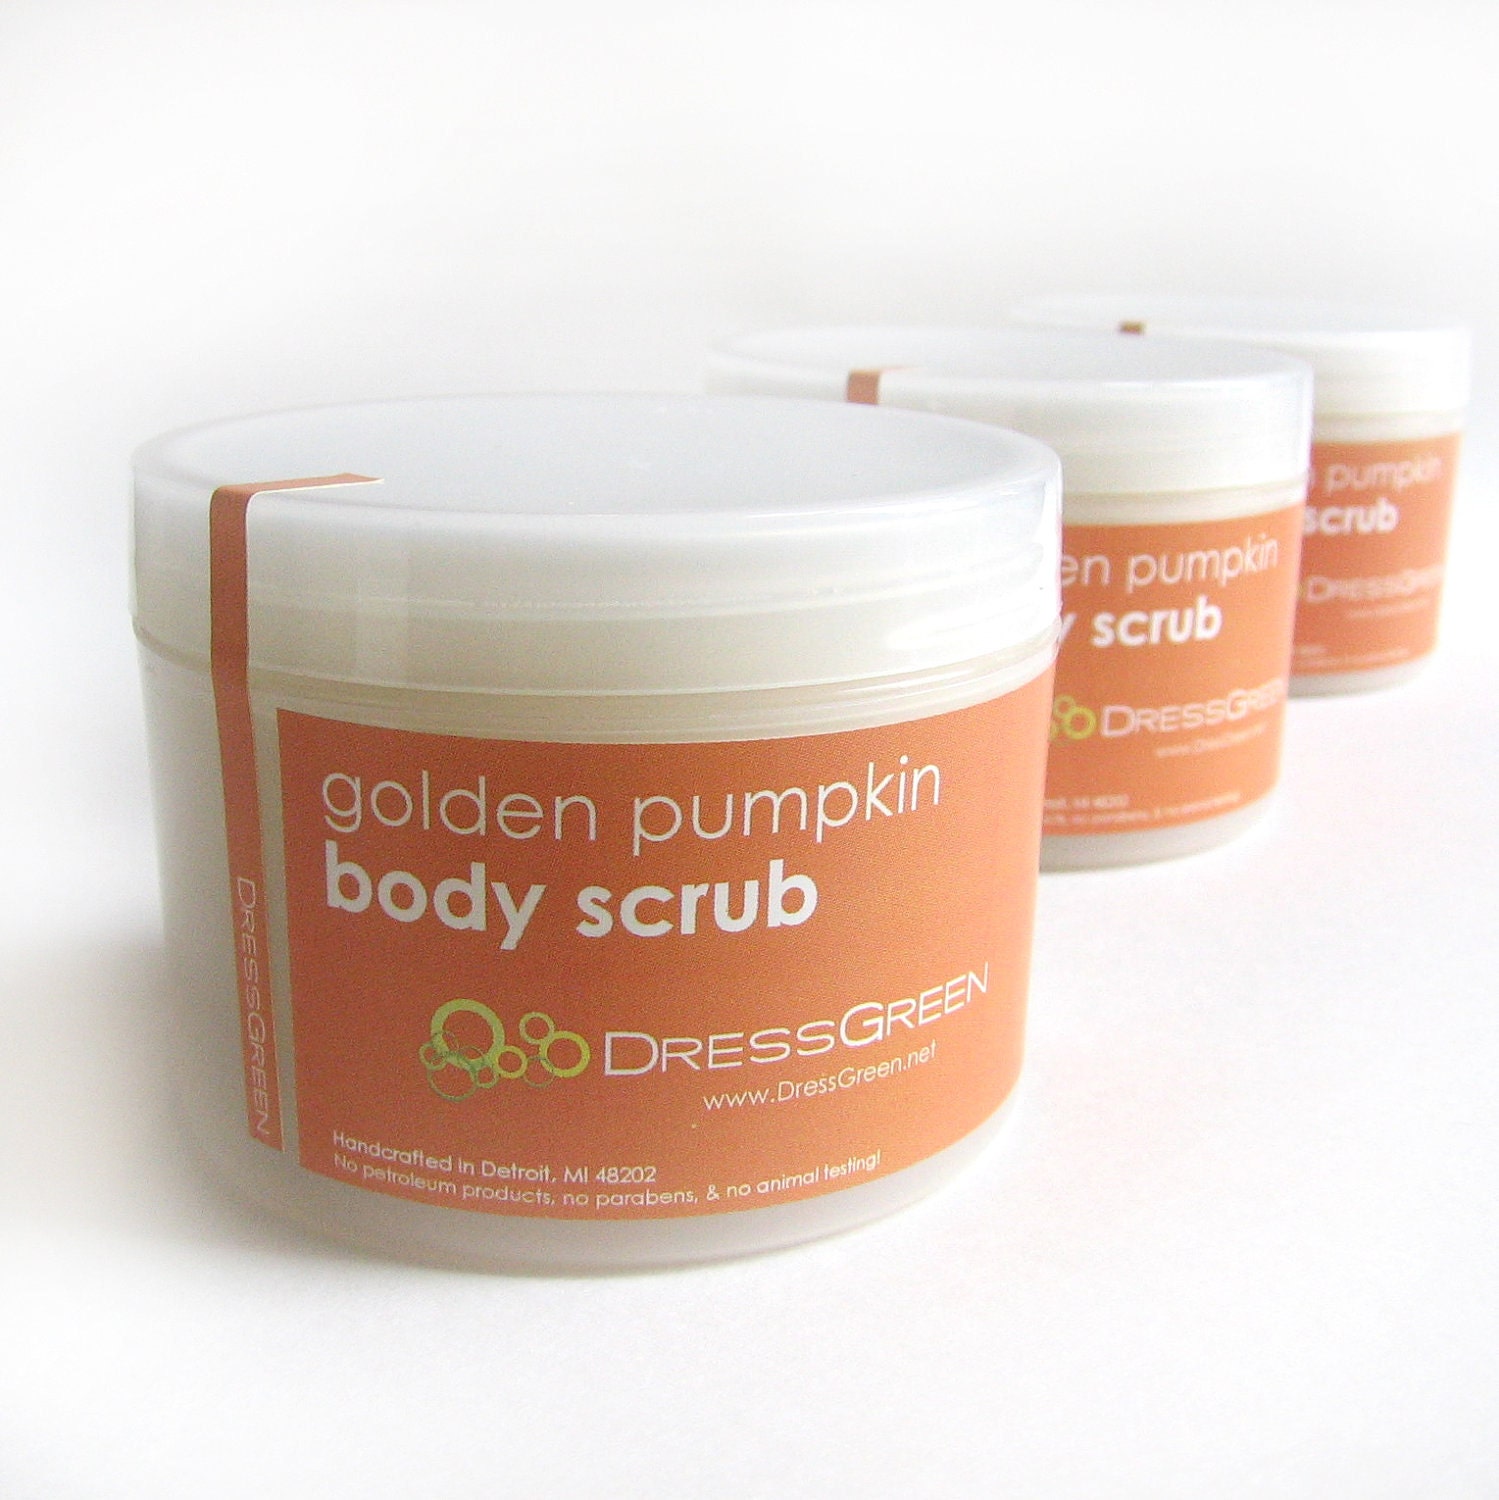
Pumpkin body scrub for a nice healthy glow,
and unclogged pores.
Etsy shop DressGreen.
And of course, there's a plethora of organic pumpkin bar soap available for our pleasure!

Saturday, October 15, 2011

Pumpkin Spice Whoopie Pies

Photo by my3peas

Ingredients:

For the Cookies

1 cup pumpkin
2 eggs
1/2 cup butter, softened
1 package spice cake mix (2 layer size)
1/2 cup milk

For Filling

8 ounces cream cheese, softened
2 cups confectioners sugar
1/2 teaspoon cinnamon
1/2 teaspoon nutmeg
1/2 cup butter
1 teaspoon vanilla
3 1/2 ounces marshmallow cream (7oz. jar)

Yields: 12-18 cookies
Prep time: 30minutes, Cooking time: 15minutes
Total time: 45 minutes

Directions:
  1. Starting with the cookies: beat pumpkin and butter with mixer until smooth
  2. Add cake mix, eggs, and milk. Beat on low speed until combined, then medium speed for one minute.
  3. Cover cookie sheets with parchment or oiled foil.
  4. Drop large mounds of dough 3 inches apart on cookie sheet.
  5. Bake 15 minutes at 375 degrees F. (oven preheated)
  6. Now the filling: Beat the cream cheese and butter until smooth.
  7. Add the sugar, vanilla, cinnamon, nutmeg, and marshmallow cream. Only beat until combined well.
  8. Refrigerate for at least 30 minutes.
  9. When cookies are cool, spoon filling onto bottom cookie and sandwich together.
  10. Eat and you're done!

Wednesday, September 28, 2011

Dita Stole My Dream Kitchen!

InStyle Magazine February 2011
Dita Von Teese in her own kitchen!

Dita Von Teese sure did walk right into my "ReRe the Homemaker" dream and steal all my ideas for this retro kitchen. That's my story and I'm sticking to it! It possesses so much personality and charm with a touch of kitsch. This article even came with a dang-on recipe of Dita's Spiced Mice Butter Cookies!


I've ALWAYS dreamt of my retro kitschy kitchen being like that. That's why it pained me when two "hope snatcher" men callously dashed all my hopes of inheriting this beauty:

All that was needed was a good cleaning with elbow grease.


R.I.P. Westing House

This oven range has been in the basement of my parents home since the beginning. My mother got sick of looking at old stuff. So, she called in the two hope snatchers to pick up Westing House. They hauled her up the basement steps, dragged poor Westing House across the ground, and loaded her on to the back of a truck on nice hot day. Of course having sweet midwest manners, I offered the hope snatchers a cold drink. The only thing I could do was take pictures of Westing House moments before her fate.

However, I did find Elmira Stove Works company. This company sells customizable kitchen appliances in authentic vintage style with modern perks! I love the Northstar appliance line with so many color options!

 "Grandma never had it so good!"


Electronic Clock Controls

Sealed Gas Burners

High-speed Radiant Electric Elements

Warming Drawer

Self-cleaning oven

Elmira Stove Works has been featured in Rachel Ray's kitchen. They also have appliances on the B!tc#in' Kitchen show, which could be taken as the b!tc# in the kitchen, just saying.
What do you wish for in your dream kitchen?

Friday, September 9, 2011

Graham Sticks and OJ


I know that I cannot possibly be the only person on the planet that enjoys dipping my graham crackers into a nice cold glass of orange juice! So I came across this yummy recipe while doing some research googling at GrahamCrackers.org.

Graham Crackers Smoothie

Ingredients:
1/4 Cup Of Crushed Graham Crackers (I use Back To Nature brand Graham Sticks,100% Natural)
1 Whole Ripe Peeled Banana
1 Whole Small Quartered Crisp Green Apple
1 Tablespoon Of Liquid Bees Honey
1 Tiny Dash Of Fresh Ground Cinnamon (optional)
2 Cups Of Vanilla Flavored Soy Milk (I like Bolthouse Farms brand, good source of protein)
2 Cups Of Orange Juice (I love Simply brand)

Information:
Serving Size 1
410 Calories Per Serving
5 Grams Of Fat

To start the preparation process first crumble all the graham crackers and then place them into your blender. Next slice up a banana and place that into your blender. Now quarter your apples, remove the seeds from them, then toss that ingredient into the mix. Now that your staple ingredients have been added you will then want to pour into your blender the yummy honey, fresh ground cinnamon, vanilla flavored soy milk, and all of the orange juice. If you have access to fresh squeezed orange juice then that will provide a far superior flavor than the processed juice. You're all set to begin blending so puree all the ingredients for one to three minutes or until the smoothie is silky smooth and even. If the finished smoothie is too thick for your preference then simply blend in additional juice or soy milk. Obviously you can swap the soy milk for cow's milk if you prefer, however cow's milk does occasionally curdle when it's added to orange juice.

Saturday, August 27, 2011

DIY: Homemade Laundry Soap


There is something better than spending money on Tide? Yes! Making your own laundry detergent! Never thought I'd say that. Tide cleaning power is pretty excellent. Who wants to keep paying out of pocket for it at this moment? Not me.  I certainly do not want to go to the laundromat either.


So here are some ways to DIY:

Liquid Detergent
Recipe 1
2 gallons Water (hot)
1 bar Soap (grated)
2 cups Baking soda (not washing soda)
  • Melt grated soap in a saucepan with enough hot water to cover. Cook on medium-low heat, stirring frequently until soap is melted.
  • In a large pail, pour 2 gallons hot water. Add melted soap, stir well.
  • Then add the baking soda, stir well again.
  • Use 1/2 cup per full load, 1 cup per very soiled load.
Powdered Detergent
Recipe 2
12 cups Borax
8 cups Baking Soda
8 cups Washing Soda
8 cups Bar soap (grated)
  • Mix all ingredients well and store in a sealed tub.
  • Use 1/8 cup of powder per full load.

*Washing soda can be found at most grocery stores, Wal-Mart, etc. It’s in the powdered laundry detergent area. A common name brand is Arm and Hammer. It will say washing soda.
My kid has really bad eczema so I doubt that I'll be using Ivory soap or any of those other heavily scented brands. Dove bar soap has a great unscented bar, which is pediatrician approved.

Liquid Detergent
Recipe 3
Hot water
1 cup Washing Soda
1/2 cup Borax
1 Soap bar
  • Grate the bar soap and add to a large saucepan with hot water. Stir over medium-low heat until soap dissolves and is melted.
  • Fill a 10 gallon pail half full of hot water. Add the melted soap, Borax and Washing soda, stir well until all powder is dissolved. Top the pail up with more hot water.
  • Use 1 cup per load, stirring soap before each use (will gel).


I'm sure you could take all the hard work out and find plenty of shops that sell laundry kits on Etsy, but then you wouldn't have your own experience of making detergent!

Etsy shop wyldcat
Local St. Louis, MO Etsy shop aBreathofFrenchair